How to use your custom blocklist with AdGuard DNS
Find the correct URL, add your filter to the right server and check that your DNS service is actually reading your list.
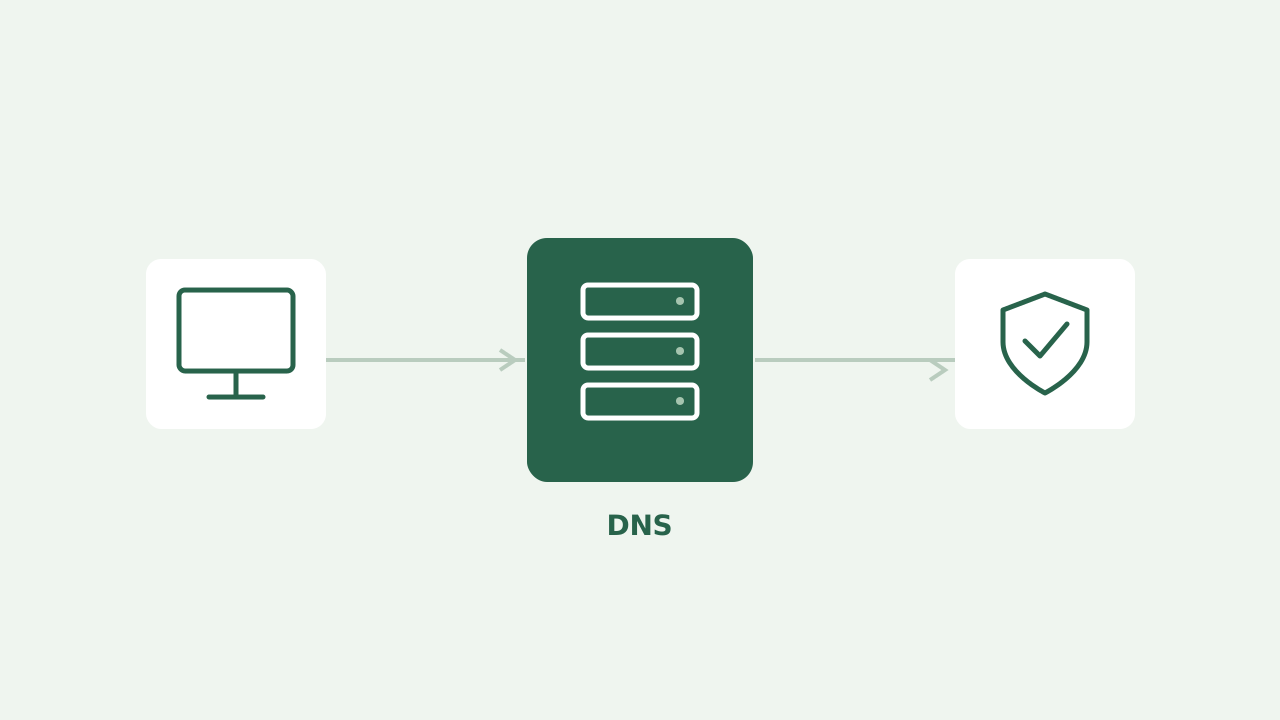
A published list does not block anything by itself. A DNS server that your devices actually use must load it. With AdGuard DNS, start with the server in your account: that is where the custom list will apply.
Copy the public filter URL
Open My filter in the LockFilter dashboard and copy the Filter URL. The default format uses AdGuard blocking rules. Do not use the contribution link: that opens a password-protected form rather than a rules file.
Add it to the right server
- Sign in to AdGuard DNS and open the servers area.
- Choose the server your devices use, then open its blocklists.
- In the custom blocklists section, add a name and the public filter URL.
- Save and check that the provider loaded the list without an error.
Check your plan’s rule allowance
LockFilter’s 10,000-domain allowance does not raise the limits of your AdGuard DNS account. The provider documents its own custom-list quotas. Check the current allowance before expanding your filter: the provider may disable a list that exceeds its limit.
Verify the setup with a reversible test
First confirm that your device points to the chosen server. Check the AdGuard query log and see whether an attempt to reach the domain appears on the expected server. A missing query may indicate another DNS setting, a local cache or an application using its own resolver.
Do not add an important domain to a permanent filter just to test it. Use an entry you have already decided to block, or run the initial test with temporary rules in your provider. New LockFilter entries cannot be undone.
Connect reports separately
Adding the list URL and connecting an API key are separate operations. The list provides blocking rules; the API integration reads query totals and reported domains. LockFilter uses the key for reading and does not change your AdGuard servers.
List updates depend on publication and the provider’s next fetch. A new entry may therefore take time to reach every device.